Firmware Update/Flashing
Firmware Update/Flashing in Nixie Clock Shield NSC314
Step 1: Power your clock using a 12-volt 1-ampere power supply.
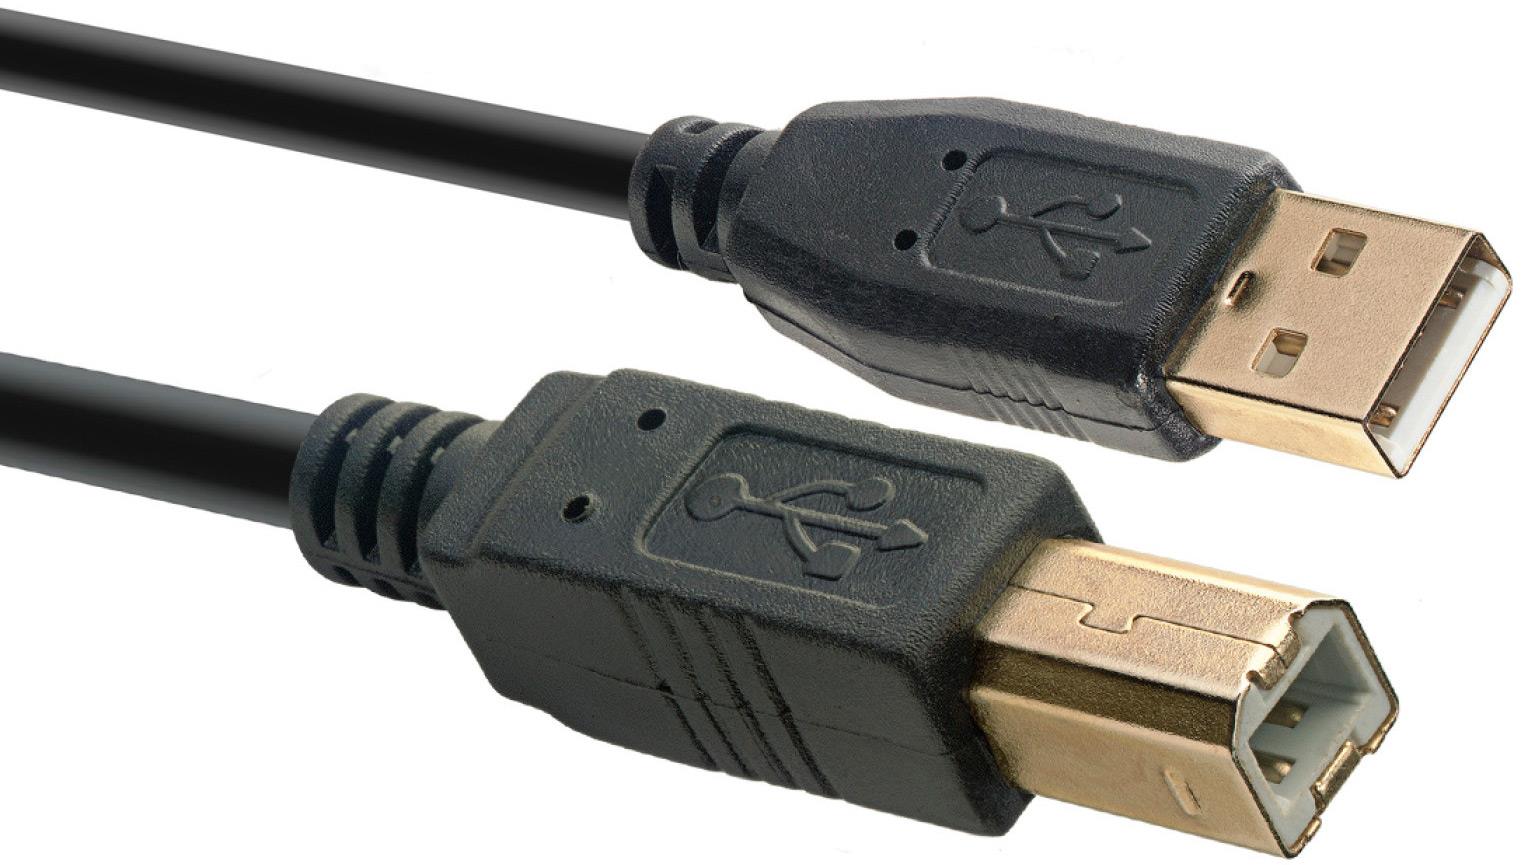
Step 2: Connect your clock to your PC using a USB cable. Depending on the clock model, you may need either a USB-A to USB-B cable or a USB-A to micro-USB cable.
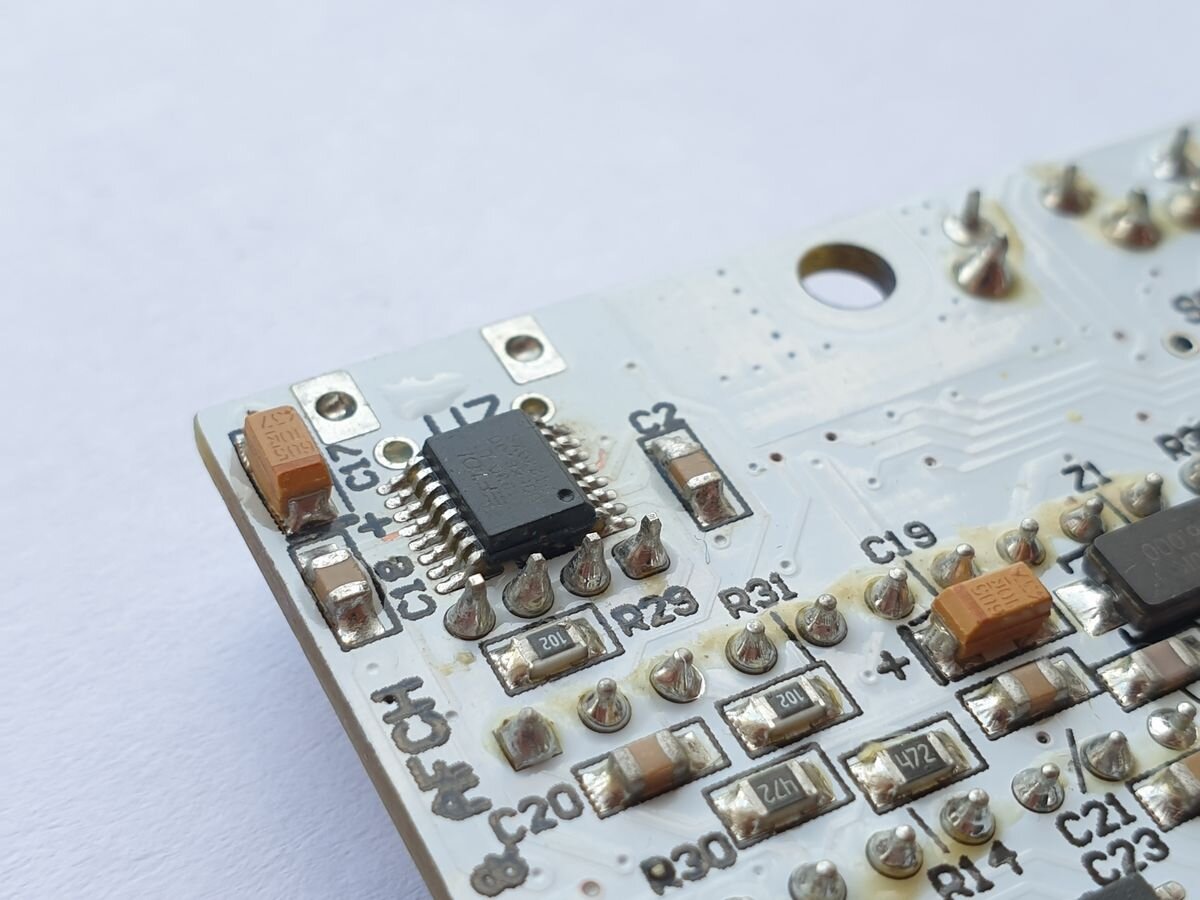
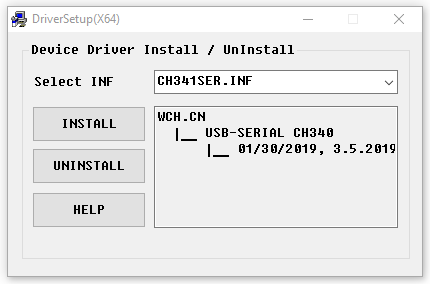
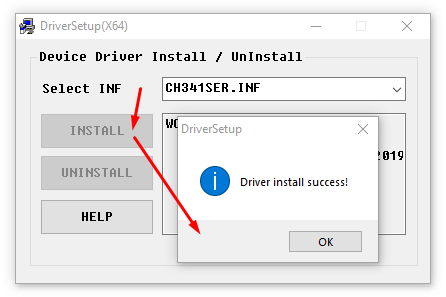
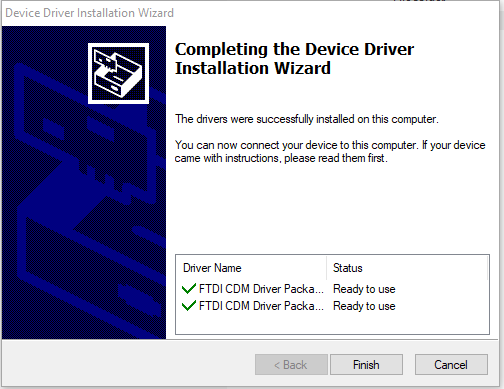
Step 3: Install the USB to UART converter driver. In most of our clocks, either the CH340 or FT230 model is used.
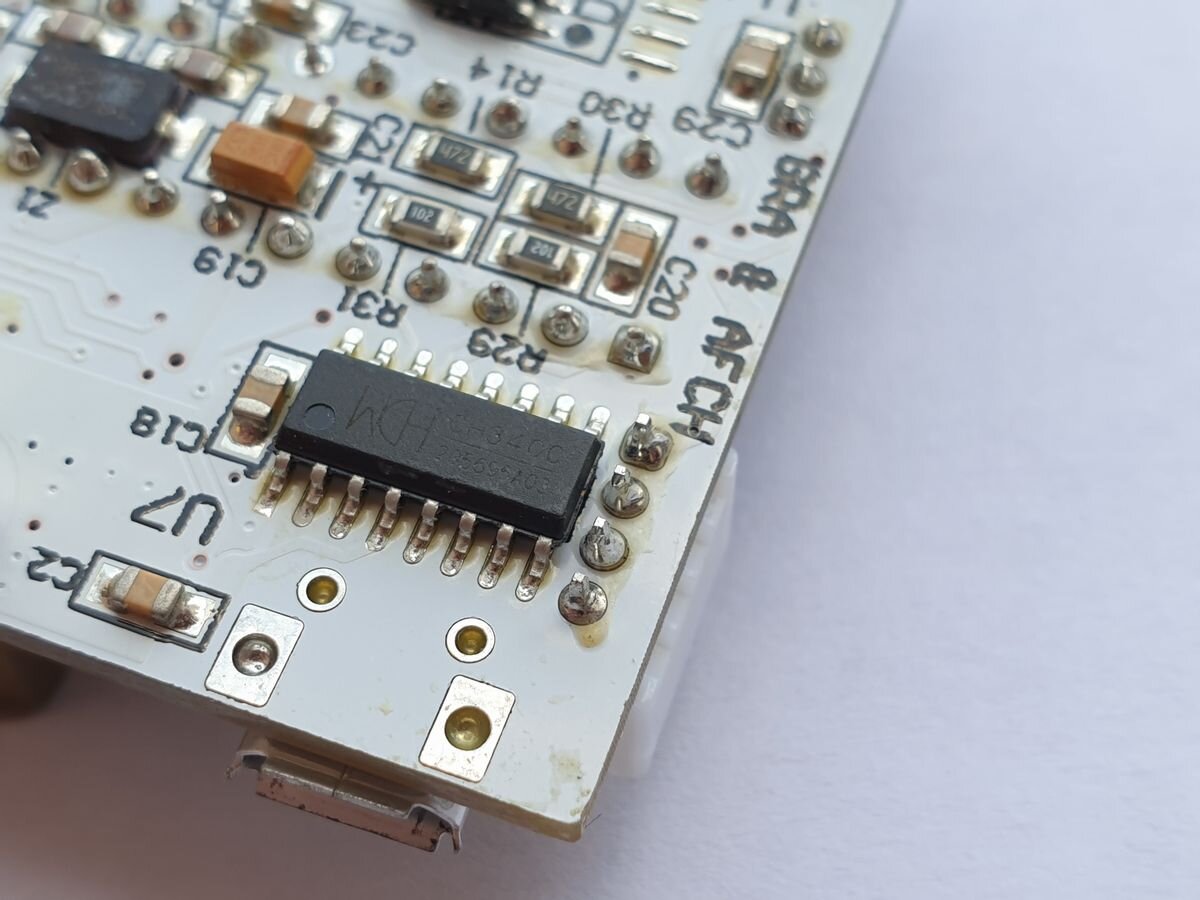
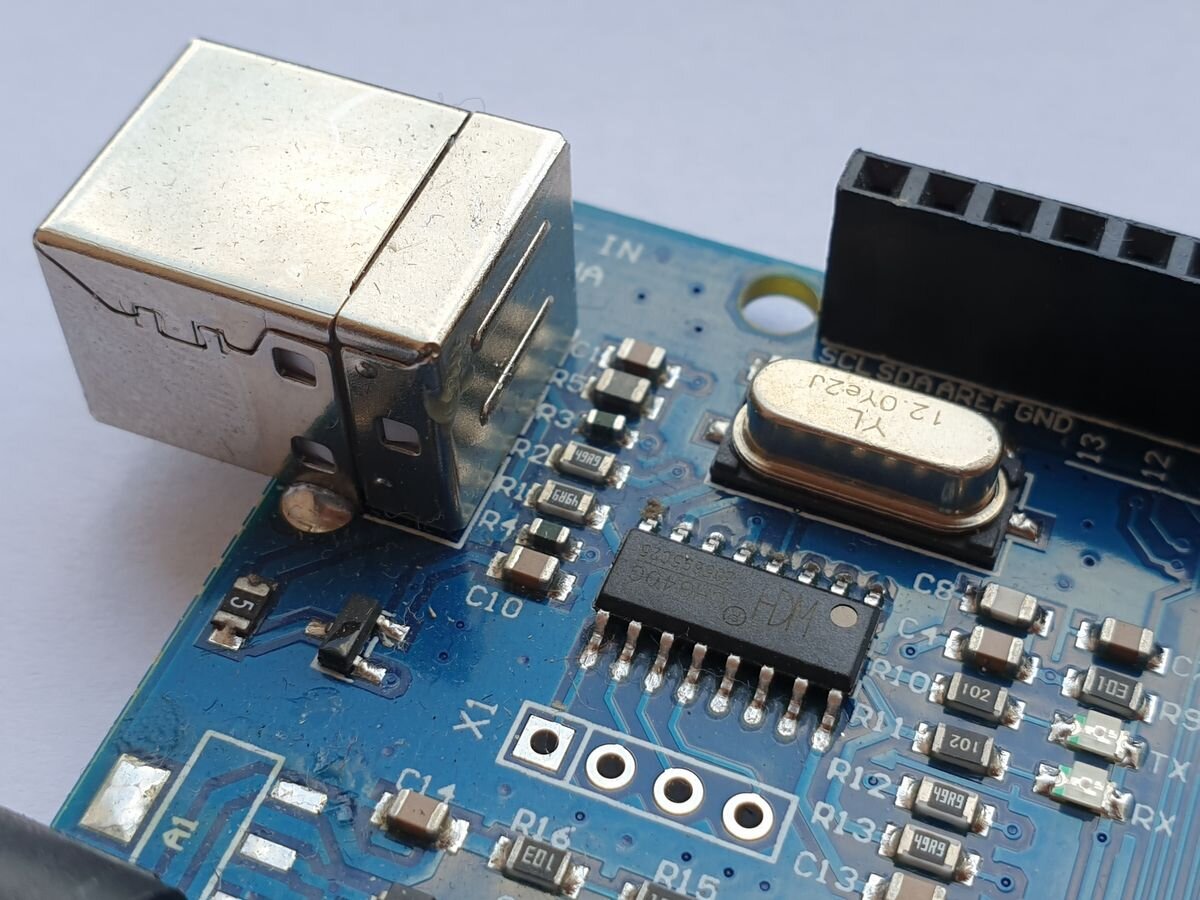
Driver for CH340:
CH340ser_Windows_x64.zip (417 downloads)
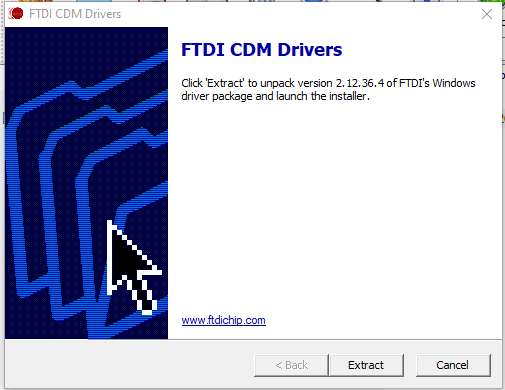
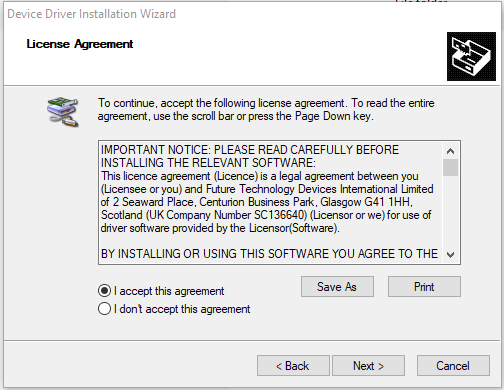
Driver for FT230:
FT230_win64_driver.zip (846 downloads)
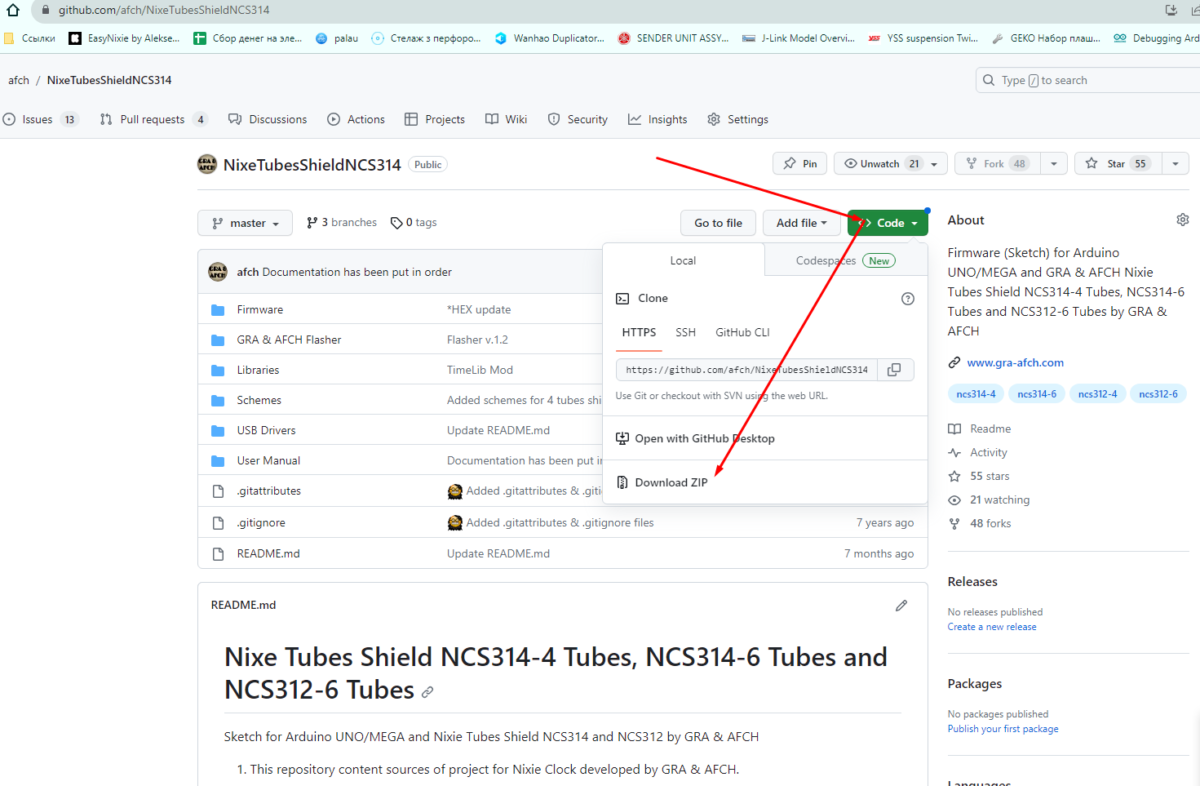
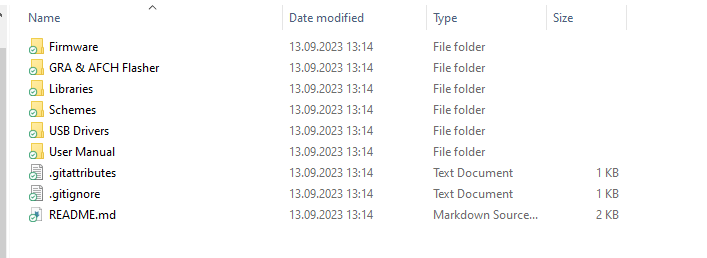
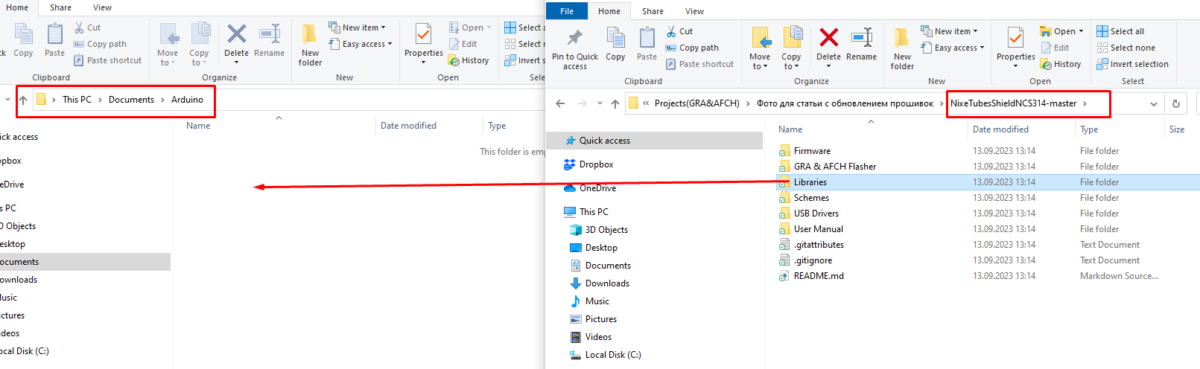
Step 4: Download and extract the firmware repository for your clock from GitHub. https://github.com/afch
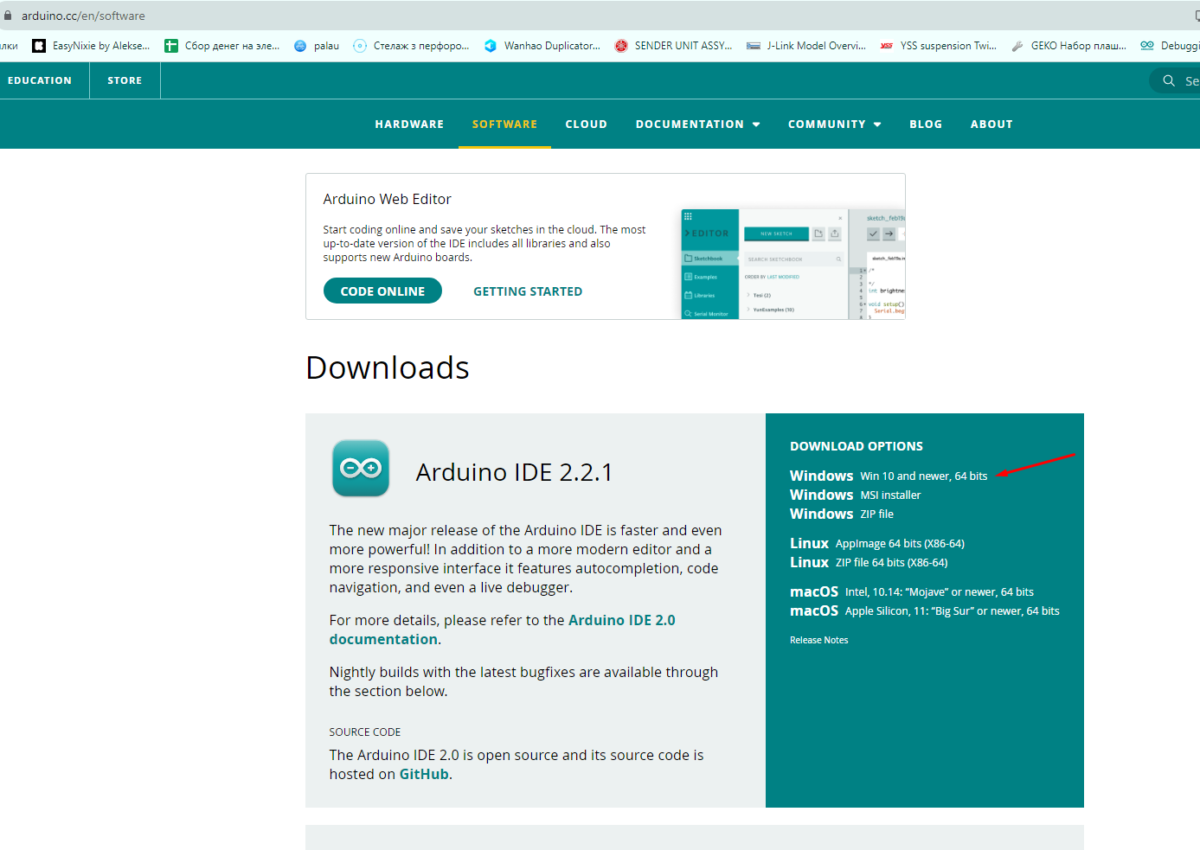
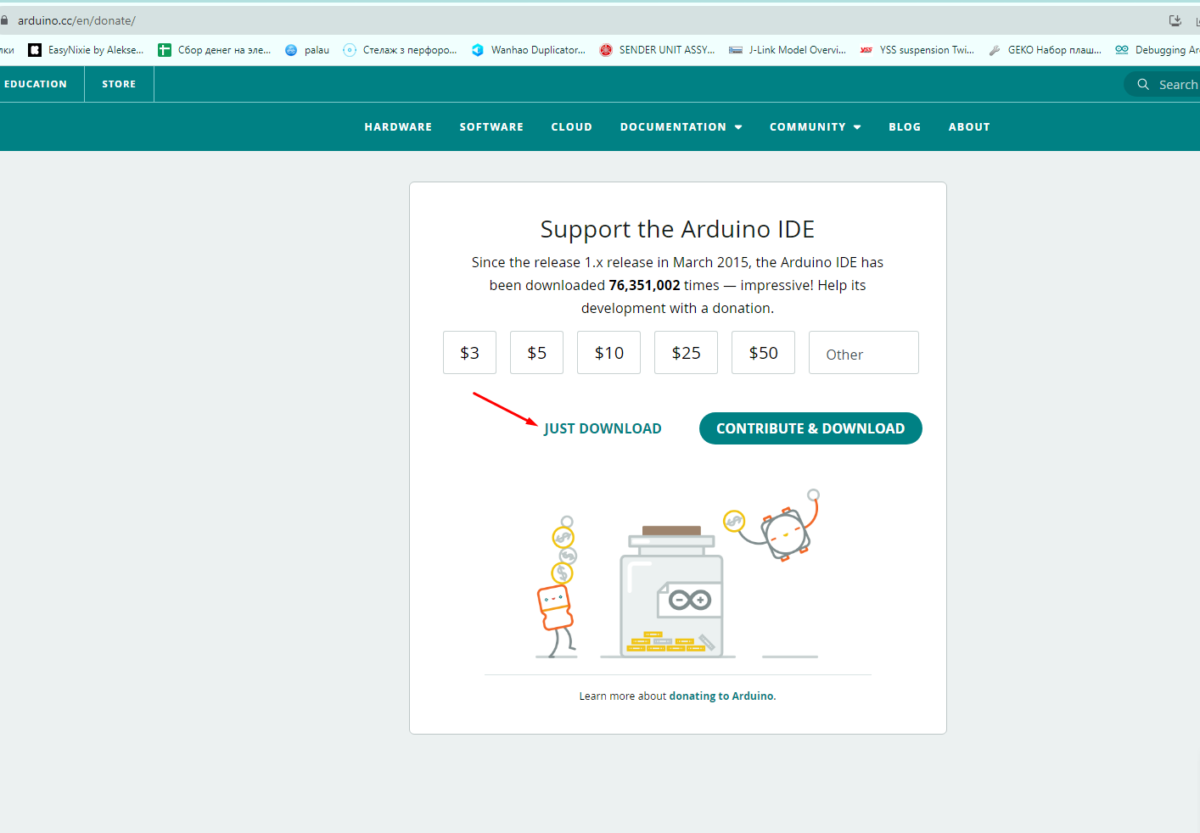
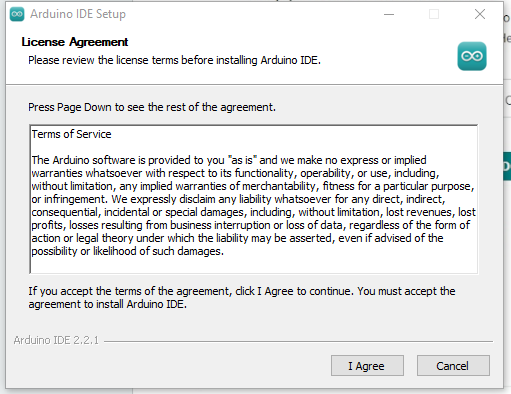
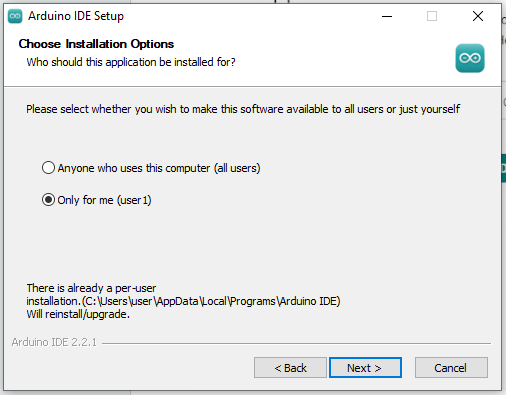
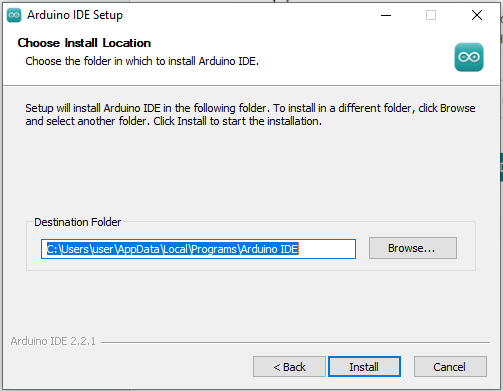
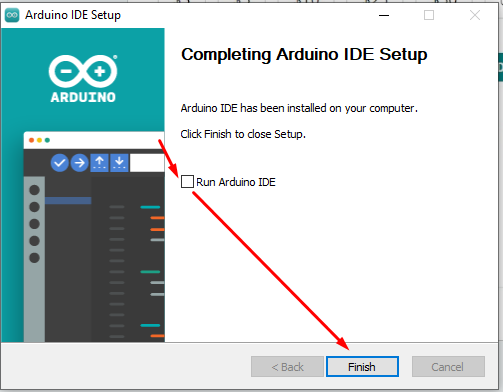
Step 5: Download and install Arduino IDE. https://www.arduino.cc/en/software
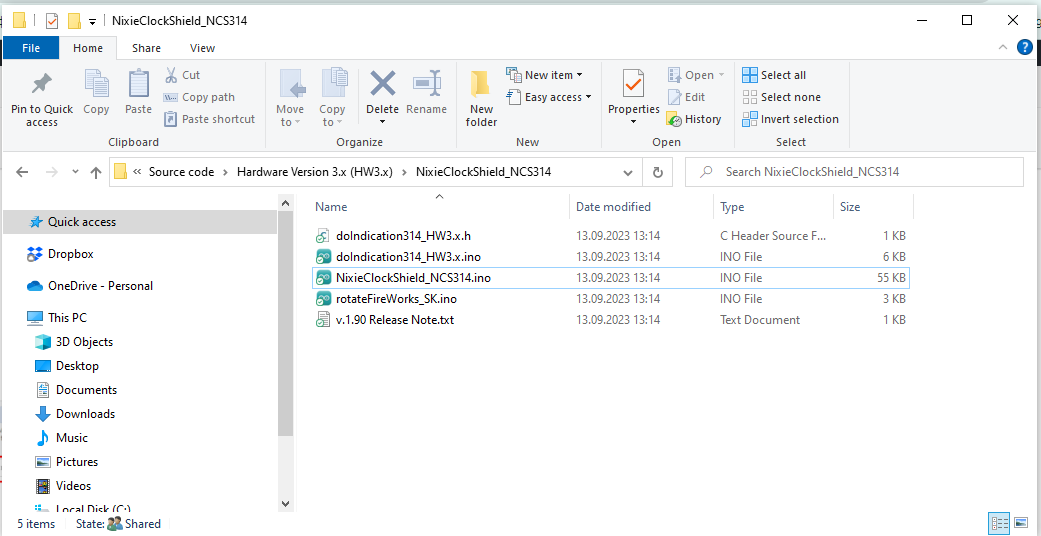
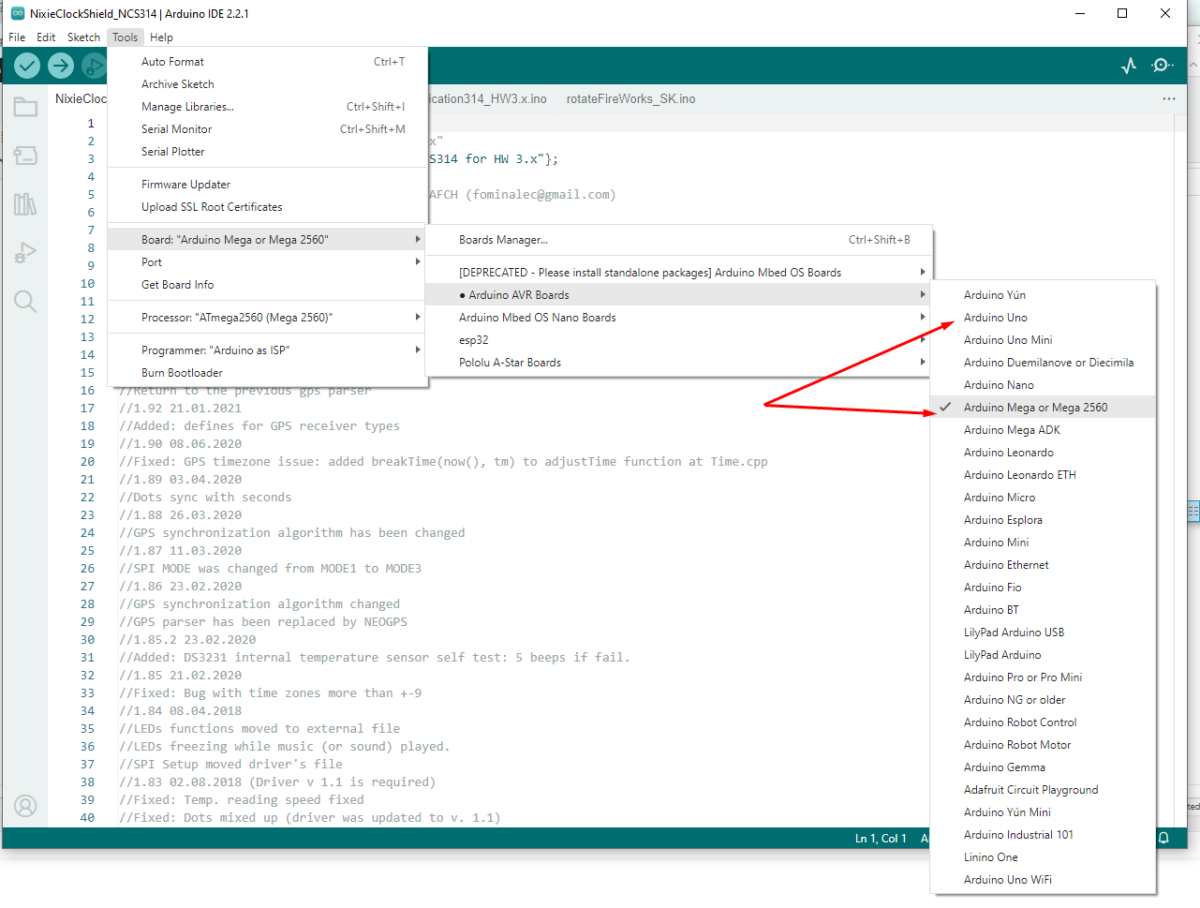
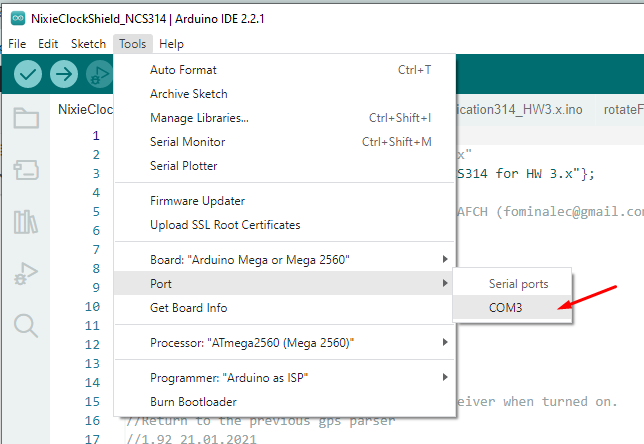
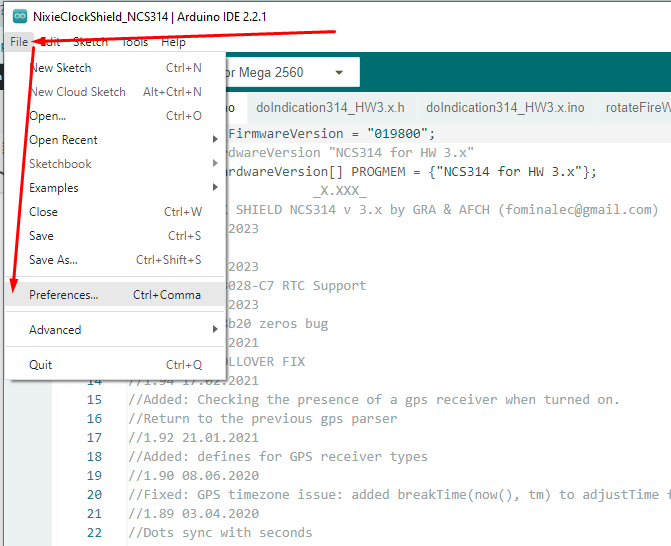
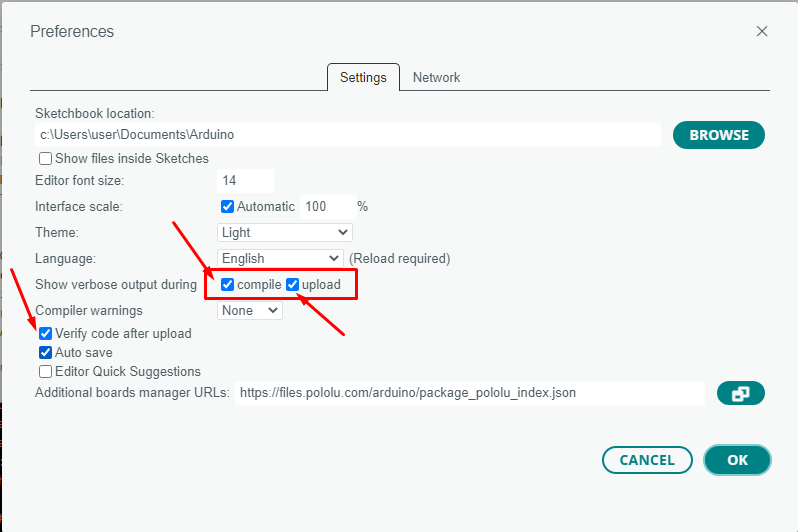
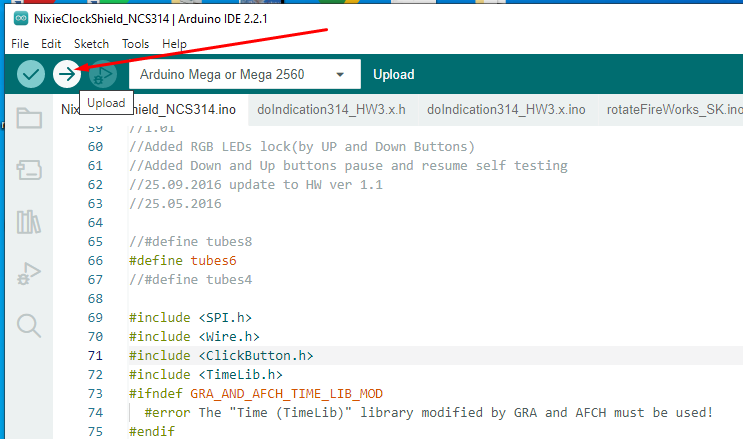
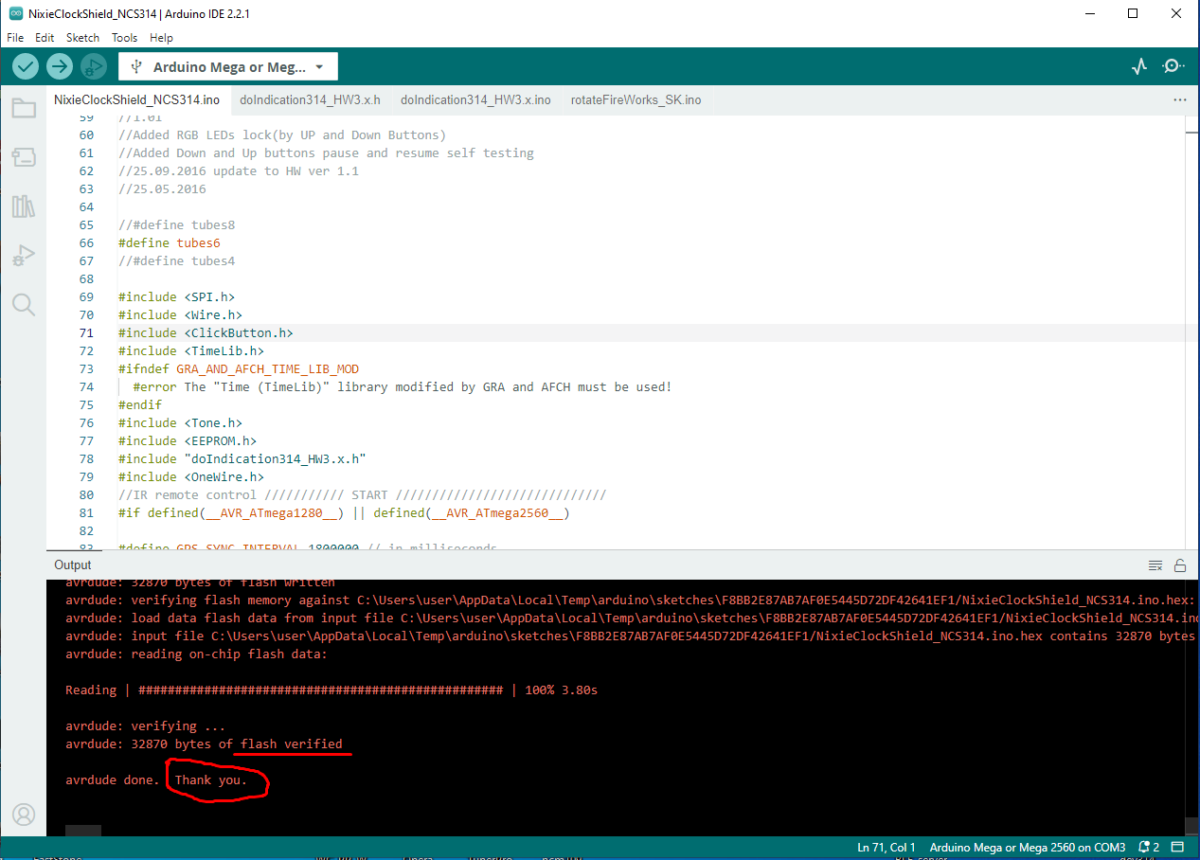
Step 6: Compiling and Uploading Firmware

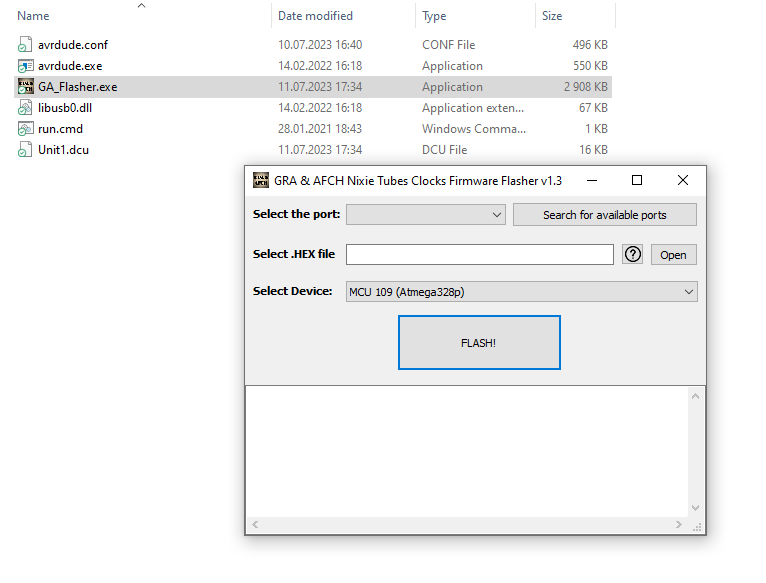
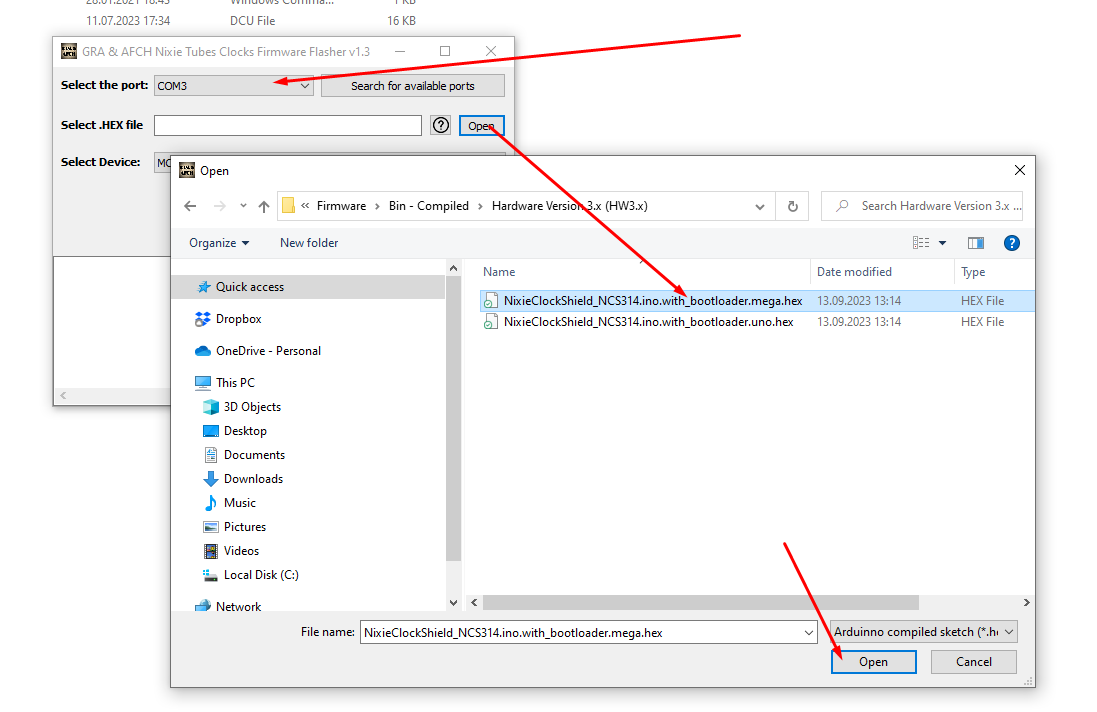
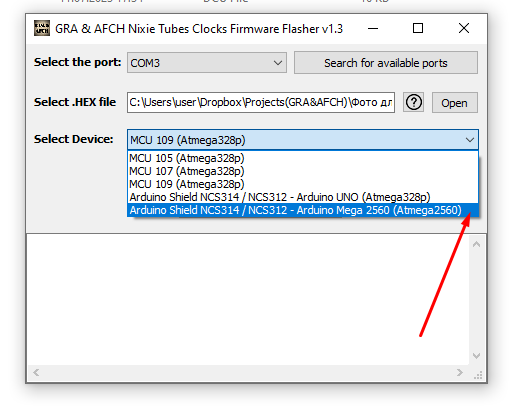
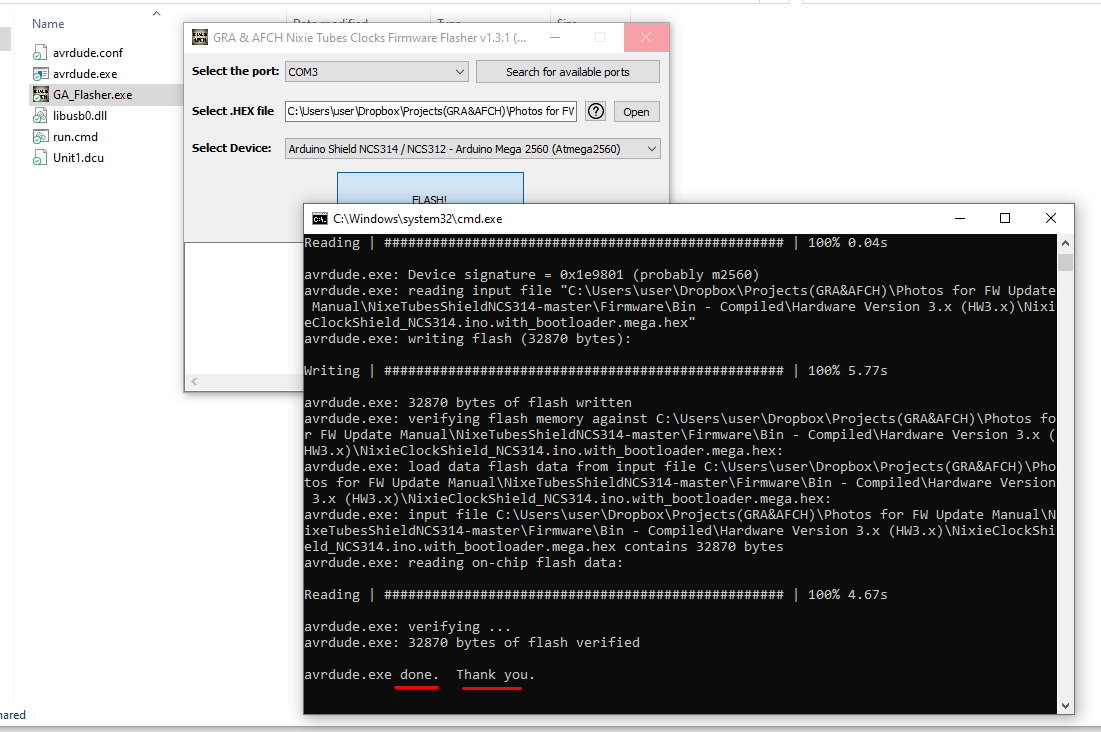
Step 6 (Alternative): Uploading Precompiled Firmware. Download and unzip GA Flasher